Automate your tests using the IAR C-SPY Command Line Utility
The IAR Embedded Workbench comes with C-SPY, the state-of-art debugger. C-SPY provides a rich user interface for debugging the application's code. There are particular cases, as in automated development environments, where there is a need to perform automated tests. For such cases, the IAR C-SPY Command Line Utility ( cspybat ) can be used to execute the embedded application directly from the command line.
In this article, we introduce how it is possible to use the Standard I/O interface to automatically feed input parameter data when using cspybat to perform runtime tests over an example project.
Create a test project
The first step is to create a new C project in the IAR Embedded Workbench. Then replace the contents of the main.c file with the following code snippet:
#include <stdio.h>

typedef struct {
  int r;
  int g;
  int b;
} rgb_t;

/* ITU BT.601 */
int rgb_to_luminance(const rgb_t *color) {
   int luminance;
   luminance = (int)(0.299f * color->r + 0.587f * color->g + 0.114f * color->b);
   return luminance;
}

int main(void) {
   int luminance;
   rgb_t input;

   printf("R:");   scanf("%d", &input.r);   printf("%d\n", input.r);
   printf("G:");   scanf("%d", &input.g);   printf("%d\n", input.g);
   printf("B:");   scanf("%d", &input.b);   printf("%d\n", input.b);

   luminance = rgb_to_luminance(&input);
   printf("---\nLuminance:%d\n", luminance);

   return 0;
}
Save the project as project.ewp.
This minimalistic application expects to receive three color parameters: r, g and b from the Standard I/O and, with that, it converts these values to the corresponding luminance value according to the ITU B.601 specification. The conversion is often used in the process of reducing colored images to their monochrome versions.
Notes
- At this point, you might want to set other options such as
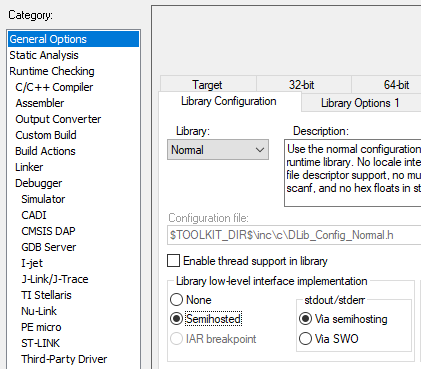
Target device,Debugger driverand so forth. - For the IAR Embedded Workbench for Arm when using the Simulator: set the project's Library Configuration located in the General Options category to use the
Semihostedimplementation for the Standard I/O low-level interface, as below:
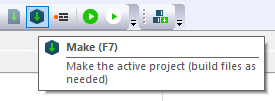
When finished setting up the project, click Make (F7) and then Download and Debug (CTRL+D).

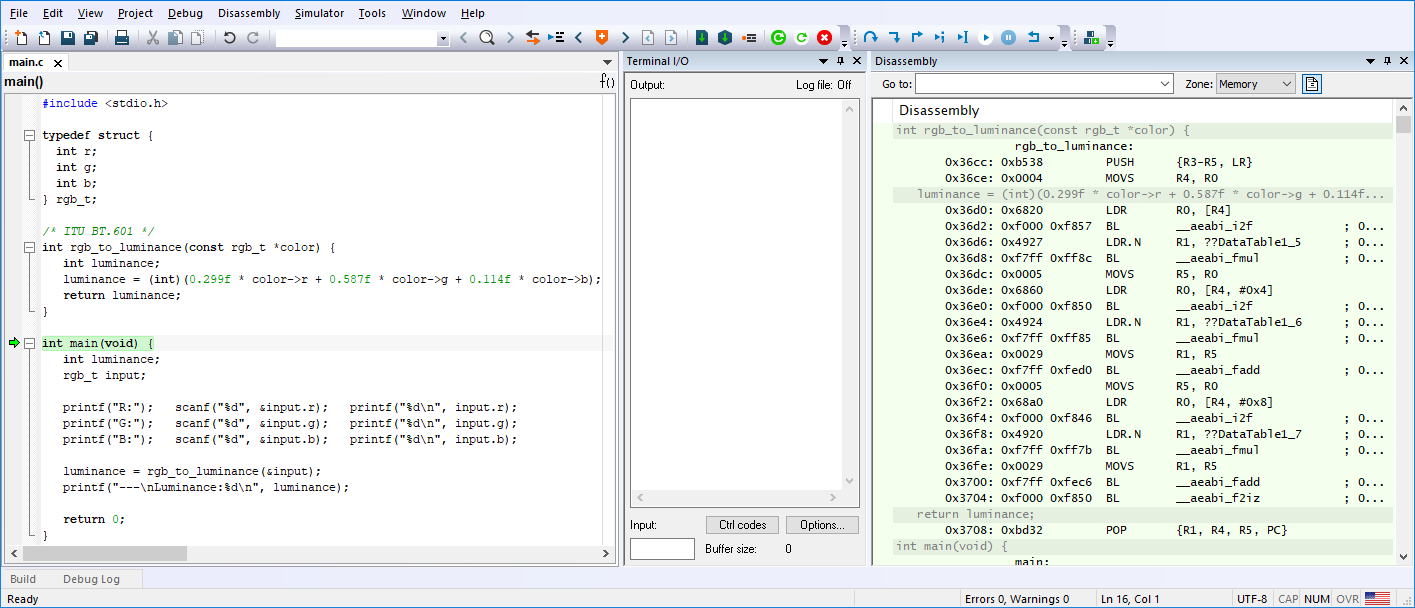
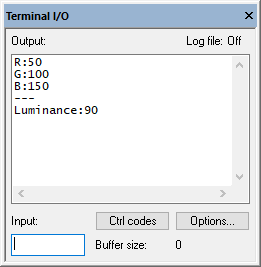
On the Debug Toolbar, click Go (F5) and the Terminal I/O window will show up and await for the user's Input.

Enter 50, 100 and 150 in the Input field.
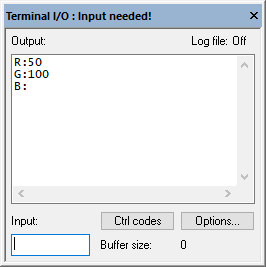
The result is also shown in the Terminal I/O window.
Close your debug session.
Create a batch file
The IAR Embedded Workbench creates a batch file named <project-name>.<build-configuration>.cspy.bat inside the project's settings folder. This batch script is capable of running the application using the same <build-configuration>.
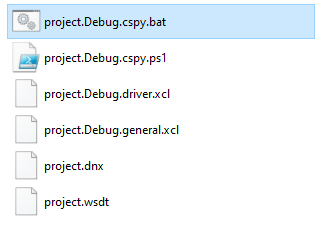
Start with a Command Prompt and go to the project's folder:
C:\>cd <path-to>\projectFrom the command line, invoke the automatically generated batch script to execute the application using cspybat:
C:\<path-to>\project>settings\project.Debug.cspy.bat Once launched, the application will wait for the user's parameters to be entered:
C:\project>"C:\IAR_Systems\EWARM\9.10.1\common\bin\cspybat" -f "C:\project\settings\project.Debug.general.xcl" --backend -f "C:\project\settings\project.Debug.driver.xcl"

    IAR C-SPY Command Line Utility V9.0.4.7242
    Copyright 2000-2021 IAR Systems AB.

R:
Enter 50, 100 and 150 so the corresponding luminance value is calculated.
     IAR C-SPY Command Line Utility V9.0.4.7242
     Copyright 2000-2021 IAR Systems AB.

R:50
50
G:100
100
B:150
150
---
Luminance:90

     CSpyBat terminating.
Redirect a text file to the Standard Input
The Command Prompt allows the use of redirectors, which means that it is possible feed in the batch script with a text file containing the parameters to be entered.
In order to create our data file with the parameters use the following command:
C:\<path-to>\project>copy con data.txtAnd then insert 50, followed by ENTER, repeat it for 100 and finally for 150. When done, press CTRL+Z to save the file.
C:\<path-to>\project>copy con data.txt
50
100
150
^Z
        1 file(s) copied.
Now it is time to test our automation, by feeding the data file to the batch script with the help of the < redirector:
C:\<path-to>\project>settings\project.Debug.cspy.bat < data.txtAnd the expected output should be similar to:
C:\<path-to>\project>"C:\IAR_Systems\EWARM\9.10.1\common\bin\cspybat" -f "C:\project\settings\project.Debug.general.xcl" --backend -f "C:\project\settings\project.Debug.driver.xcl"

    IAR C-SPY Command Line Utility V9.0.4.7242
    Copyright 2000-2021 IAR Systems AB.

R:50
G:100
B:150
---
Luminance:90

    CSpyBat terminating.
Conclusion
While debugging embedded applications from a comfortable GUI is the most convenient way, repetitive test tasks can be easily automated with the C-SPY Command Line Utility.
This was a simplified example to illustrate how cspybat can be used for the purposes of automated testing. In order to run unit tests, similar or more complex setups can be used to feed the application with external parameter data. Then, the generated output can be used to verify results against other reference models.
This technique can be used when performing tasks such as running boundary value tests, validate required accuracy of calculations or even check side effects of type casts, just to mention some of the many possibilities.
To learn more about cspybat, please refer to the C-SPY Debugging Guide, which you can reach from the Help menu in IAR Embedded Workbench.